
Content Scripts
Read the current page or mount a polished React interface inside it without inheriting the website's CSS.
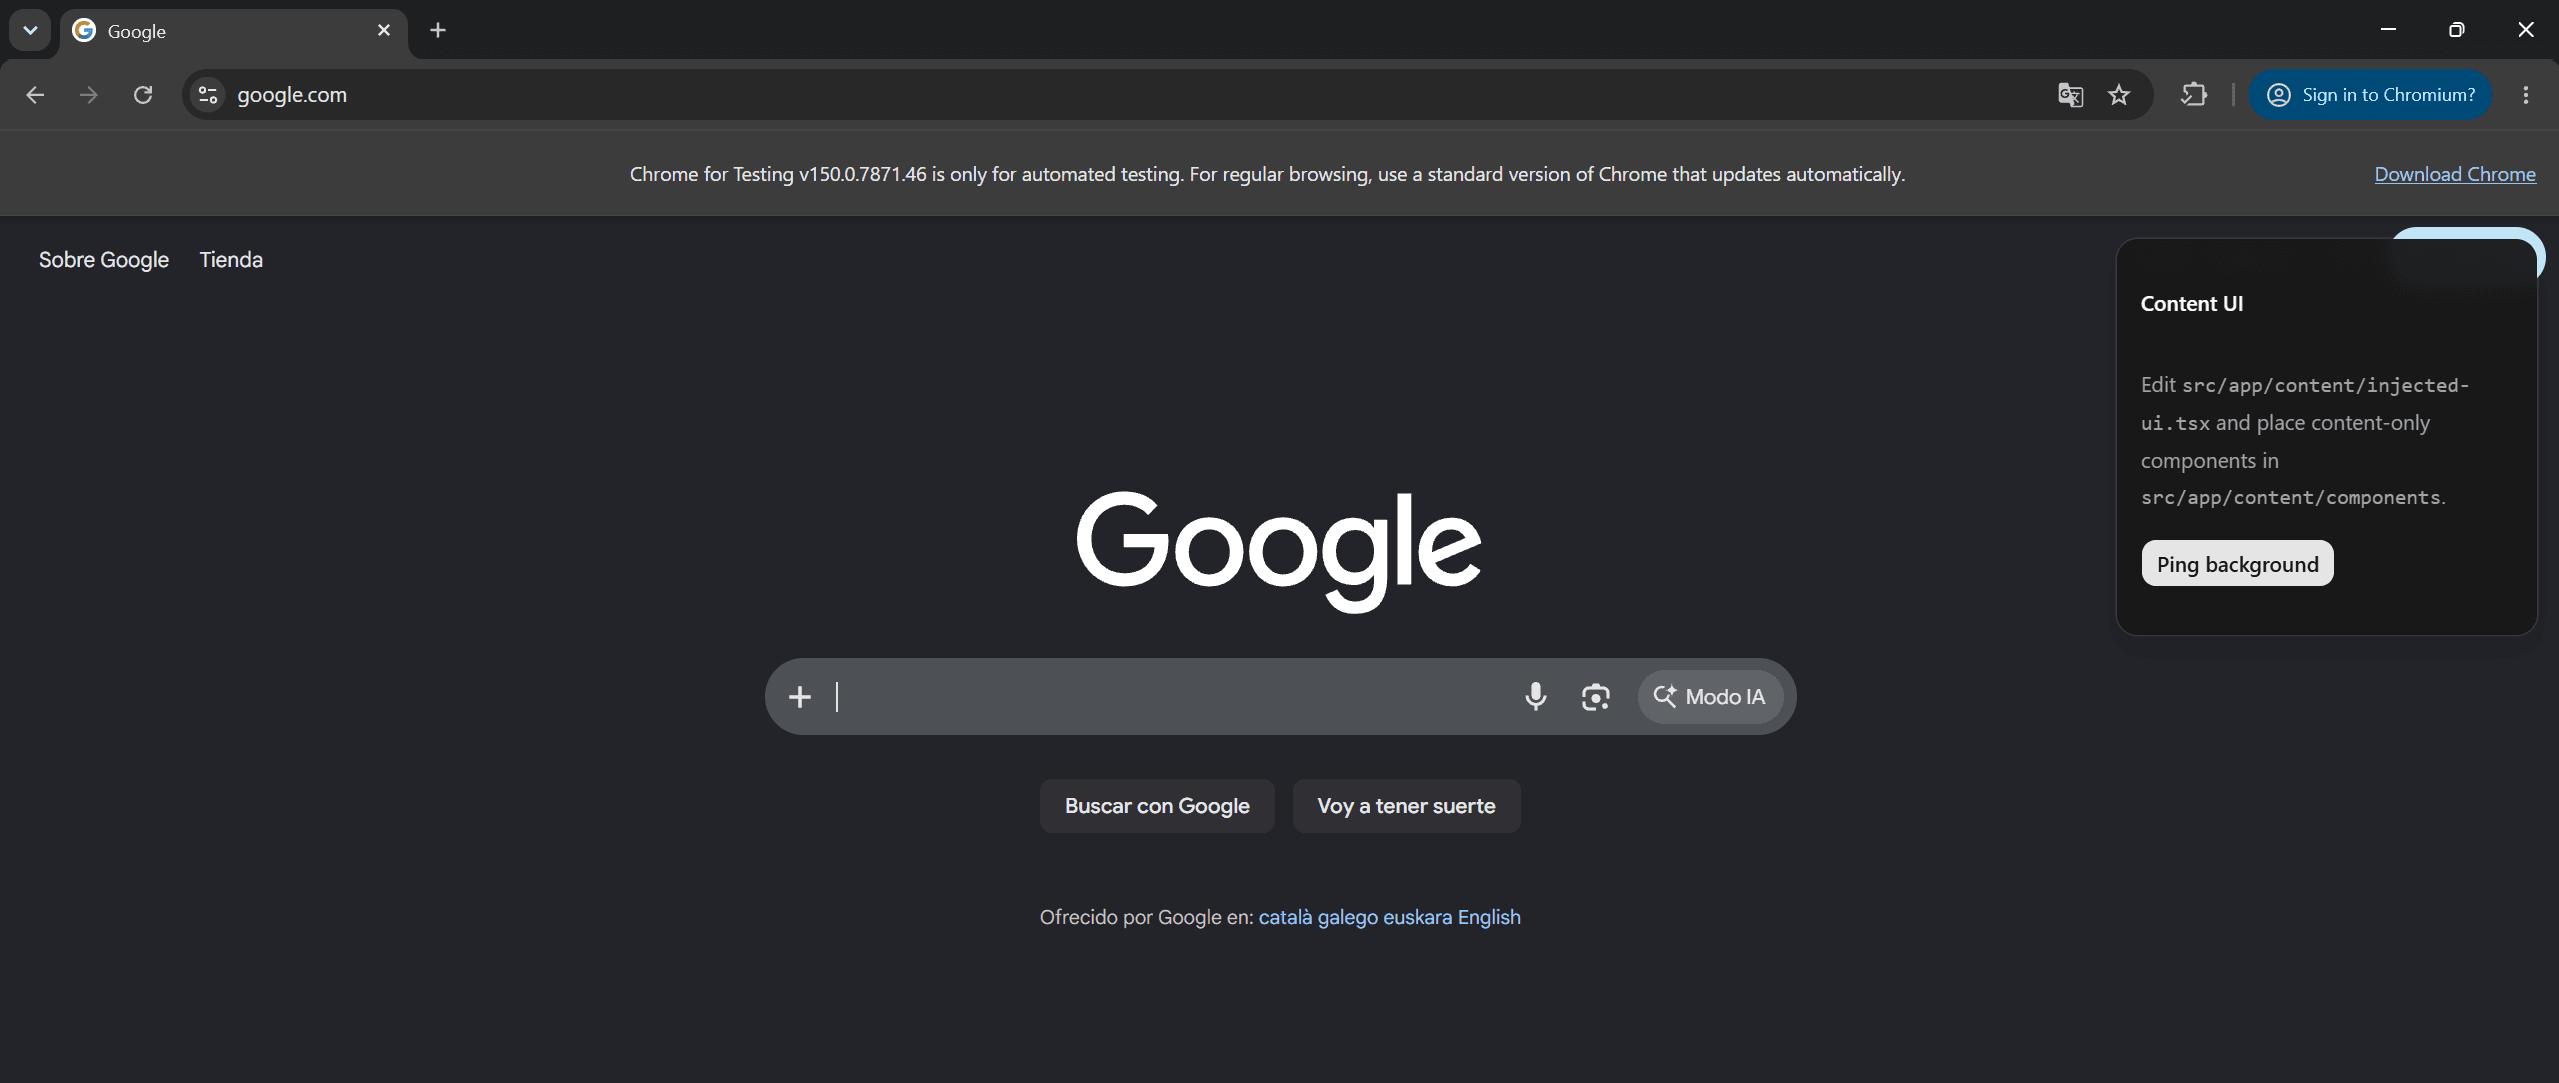
The generated surface starts with a floating panel. Keep it fixed to the viewport, place it in the page flow, or anchor it to a specific element.
// src/app/content/injected-ui.tsx (generated)
// "viewport": pinned to the screen, ignores page scroll.
// "page":    placed in the page layout, scrolls away with the content.

const CONTENT_UI_POSITION: "viewport" | "page" = "viewport";

// "shadow" (default): Shadow DOM keeps your styles isolated from the page.
// "inline": render directly in the page — read its DOM, share its styles.
const CONTENT_UI_MODE: "shadow" | "inline" = "shadow";

const positionClassName =
  CONTENT_UI_POSITION === "viewport" ? "fixed top-4 right-4" : "absolute top-4 right-4";

export function ContentApp() {
  return (
    <div className={`pointer-events-auto ${positionClassName} w-[280px]`}>
      <Card className="border-border bg-card/95 shadow-lg backdrop-blur">
        <CardHeader className="p-4">
          <CardTitle className="text-sm">Content UI</CardTitle>
        </CardHeader>
        <CardContent className="grid gap-4 p-4 pt-0">
          <p className="text-sm leading-6 text-muted-foreground">
            Edit <code>src/app/content/injected-ui.tsx</code> and place
            content-only components in <code>src/app/content/components</code>.
          </p>
          <div>
            <Button onClick={() => sendRuntimeMessage({ type: "CONTENT_UI_MOUNTED", payload: { surface: "content" } })}>
              Ping background
            </Button>
          </div>
        </CardContent>
      </Card>
    </div>
  );
}
This mode uses CSS position: fixed, so normal page scrolling does not trigger JavaScript positioning work.
Known limitation: host page transforms
A full-page transform, filter, or will-change can change how the browser positions fixed elements, including extension UI.
If you hit that on a specific site, switch the generated CONTENT_UI_POSITION constant to "page" to scroll with the content instead.
Shadow DOM vs inline mode
The generated CONTENT_UI_MODE constant controls how your UI interacts with the host page.
"shadow"(default) — Shadow DOM isolates your styles from the page. No CSS conflicts, but you cannot read or modify the page's DOM elements directly."inline"— renders directly in the page without isolation. Use this when the host site does not override your styles, or when you need to interact with the page — scraping prices, reading tags, modifying elements.
Switch to "inline" for extensions that augment a specific platform (Etsy analytics, Amazon price tracking) where reading the DOM is the whole point.
What you can build
The fixed pattern works well for:
- An assistant panel or toolbar that stays on screen as the user scrolls
- A quick-action button — summarize, translate, save — for the current page
- A data extractor that reads the page and sends it back to your popup or backend
Use ContentAnchor when the interface must follow a specific page element.
Add a content script
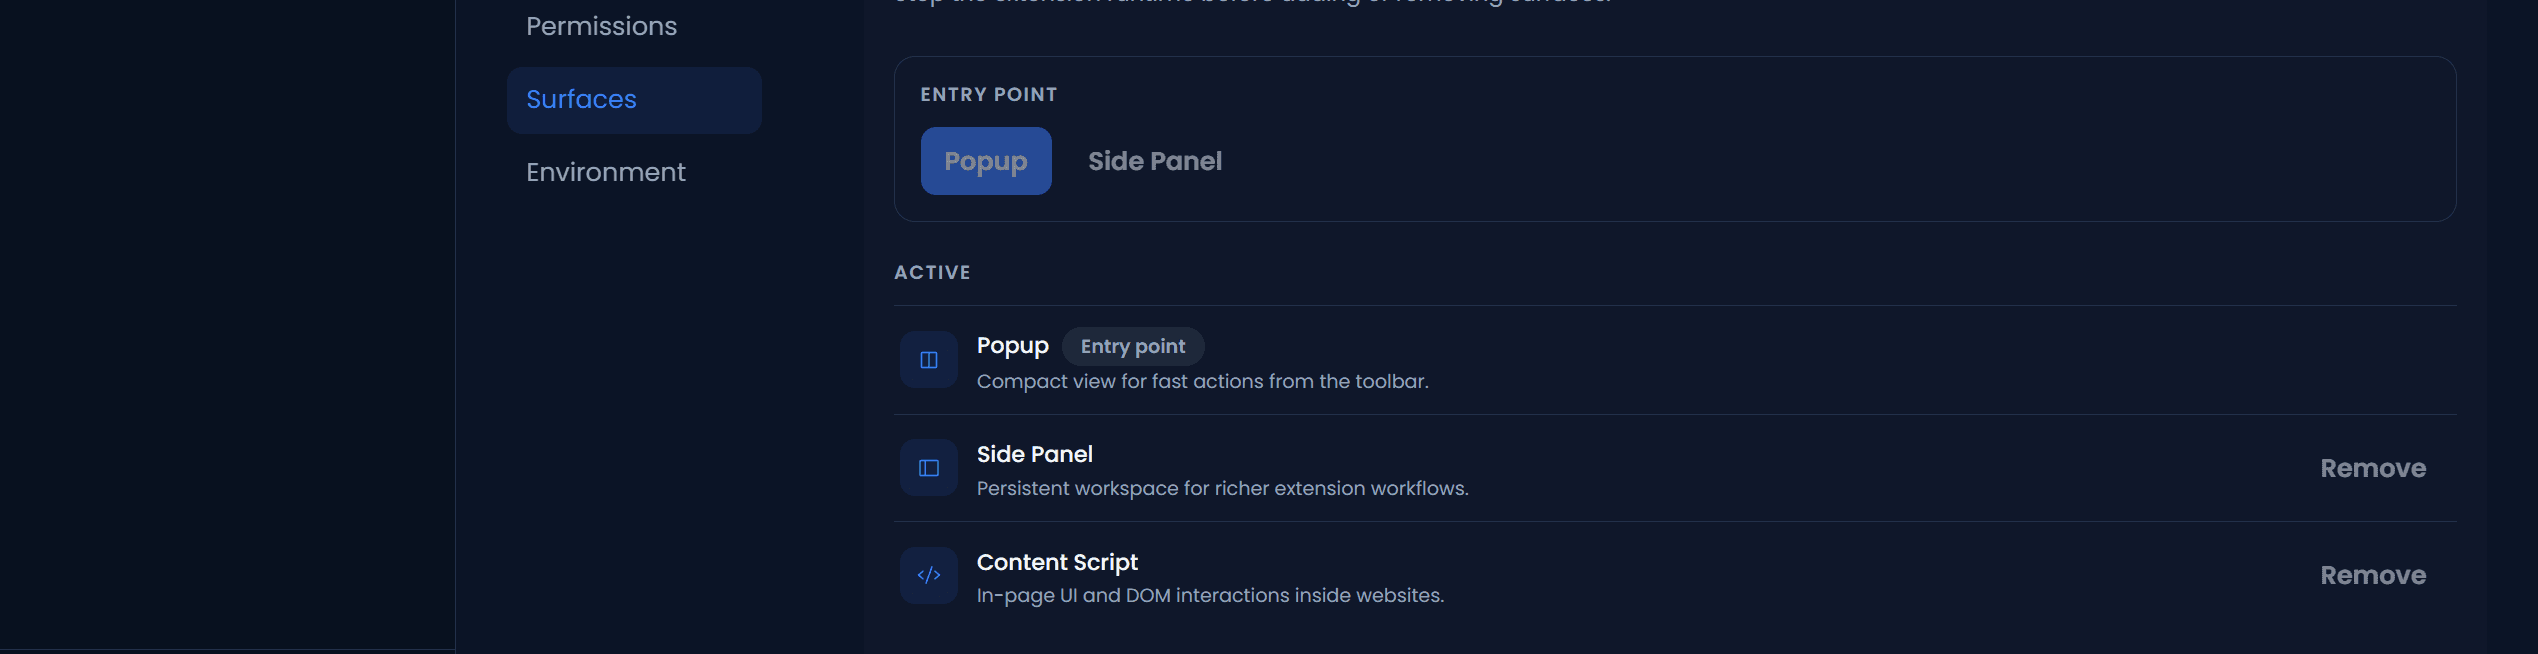
In Settings → Surfaces, click Content. ChromeShip creates src/app/content/index.tsx (the bridge) and src/app/content/injected-ui.tsx (your React component).
Architecture
Content scripts have two layers:
- Bridge (
src/app/content/index.tsx) — a thin message handler and DOM reader. Keep it small: read data, send messages, do light DOM manipulation. - Injected UI (
src/app/content/injected-ui.tsx) — your React component. Lives in a Shadow DOM, uses the same Tailwind and shadcn components as popup, side panel, or options.
ChromeShip bundles the source into a standalone Manifest V3-compatible script, inlines its CSS, creates the Shadow DOM root, and keeps shadcn portals inside that root.
Shadow DOM isolation
The Shadow DOM resets inherited page styles and contains the extension stylesheet. The host layer ignores pointer events while the actual React UI remains interactive.
Tailwind @property rules are rewritten for Shadow DOM compatibility. :root selectors become :host, and .dark becomes :host(.dark). Your components use the same CSS variables and tokens as every other surface.
Advanced: anchoring to a page element
ContentAnchor positions isolated React UI next to a matching host-page element and keeps it aligned during scroll, resize, SPA navigation, and target replacement.
- A download button next to a specific video or image
- An AI rewrite button next to every paragraph
- A price-comparison badge next to a product listing
Props
| Prop | Type | Description |
|---|---|---|
selector | string | CSS selector for the target element to anchor to |
side | "auto" | "top" | "right" | "bottom" | "left" | "center" | Which side to attach to. auto selects the side with the most viewport space. |
align | "start" | "center" | "end" | Alignment along the chosen side. Default: center. |
offset | number | Distance in pixels from the target element. Default: 8. |
enabled | boolean | Show or hide the anchored UI. Default: true. |
observeMutations | boolean | Watch for DOM mutations (SPA, infinite scroll). Default: true. |
fallback | ReactNode | Content shown when the target element is not found. |
Real-world example — a Download button on YouTube video pages, anchored to the Subscribe button:
import { ContentAnchor } from "@/shared/dom";
import { Button } from "@/components/ui/button";

function isYouTubeWatchPage() {
  const url = new URL(window.location.href);
  return (
    url.hostname === "www.youtube.com" &&
    url.pathname === "/watch" &&
    url.searchParams.has("v")
  );
}

export function ContentApp() {
  if (!isYouTubeWatchPage()) return null;

  return (
    <ContentAnchor selector="#subscribe-button" side="right" offset={16} align="center">
      <Button className="bg-red-600 hover:bg-red-500 text-lg py-6 px-6 text-white">
        Download
      </Button>
    </ContentAnchor>
  );
}
When to use each side
- side="auto" when you don't know where the target will be on screen. ChromeShip measures the viewport and picks the side with the most available space.
- side="right" for floating toolbars next to content — the default for download buttons and action menus.
- side="bottom" for expandable panels or comment sections below a post.
- side="center" for modals or overlays centered on a specific element.
DOM utilities
For lightweight DOM operations that don't need React, use the vanilla DOM helpers. Keep these in src/app/content/index.tsx — the bridge file.
import {
  selectElement,
  waitForElement,
  ensureRoot,
  removeElement,
} from "@/shared/dom";

// Read from the page
const title = selectElement<HTMLHeadingElement>("h1")?.innerText ?? "";

// Wait for an element that renders after hydration / SPA navigation
const button = await waitForElement<HTMLButtonElement>("button[type='submit']", 5000);

// Create a vanilla DOM node (for React UI, use mountInjectedUi instead)
const root = ensureRoot("chromeship-overlay-root", "chromeship-overlay");
root.textContent = "Injected";

// Clean up
removeElement("chromeship-overlay-root");
Messaging from content scripts
Your content script communicates with popup, side panel, and background through typed messages. The bridge file handles incoming messages; use sendRuntimeMessage to talk back.
import { sendRuntimeMessage, registerMessageHandler } from "@/shared/messaging";

// In the bridge (src/app/content/index.tsx)
registerMessageHandler(async (message) => {
  if (message.type === "EXTRACT_PAGE") {
    const title = document.querySelector("h1")?.innerText ?? "";
    return { ok: true, data: { title } };
  }
  return { ok: false, error: "Unsupported message" };
});

// From popup or side panel
import { sendTabMessage, getActiveInjectableTab, ensureContentScriptReady } from "@/shared/messaging";

const tab = await getActiveInjectableTab();
await ensureContentScriptReady(tab.id);
const response = await sendTabMessage(tab.id, { type: "EXTRACT_PAGE" });
Important constraints
- Imports belong in source code. Vite resolves and bundles static npm imports into the final IIFE. The emitted content script must not contain unresolved runtime
importorexportstatements. - Keep the page bridge focused. Large PDF, canvas, AI, or editor workloads can slow every matched page. Read page data in the content script and move expensive processing to another surface or a backend function when practical.
- Never inject into browser pages. ChromeShip automatically skips
chrome://,edge://,about:,chrome-extension://, Chrome Web Store, and empty new-tab pages. - Use
getActiveInjectableTab()andensureContentScriptReady()before sending messages to a tab. The content script may not be injected yet on pages opened before the extension was installed or reloaded.