
Getting Started
Install ChromeShip, create a project, and see it running in managed Chromium. You will also make a live change and read its logs.
1. Install ChromeShip
npm install -g chromeshipOpen the Studio:
chromeship dev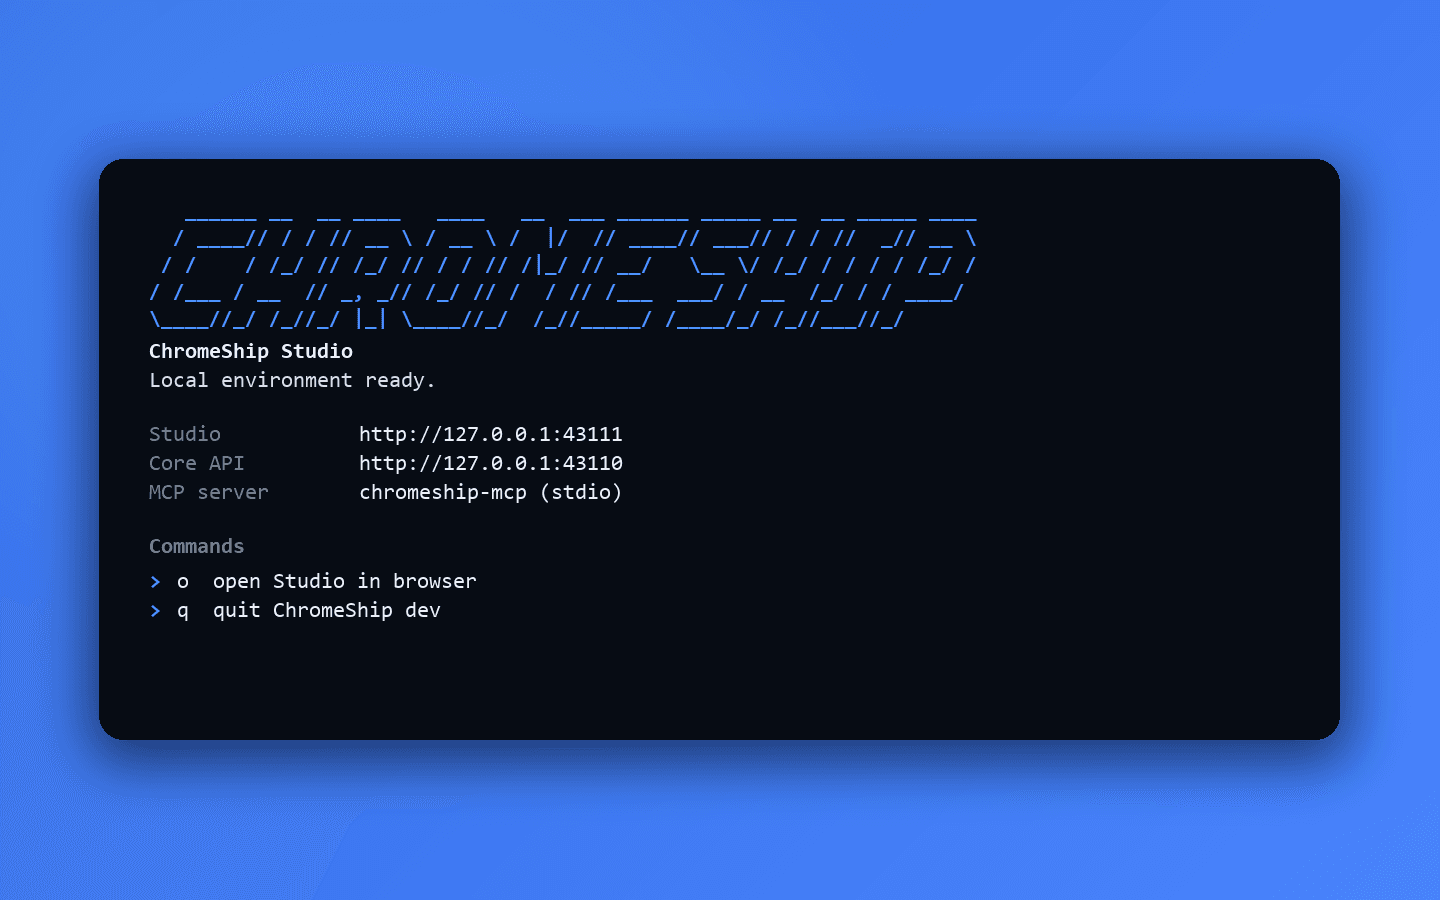
ChromeShip opens http://127.0.0.1:43111 in your browser. Keep the terminal running while you work; press q when you are finished.
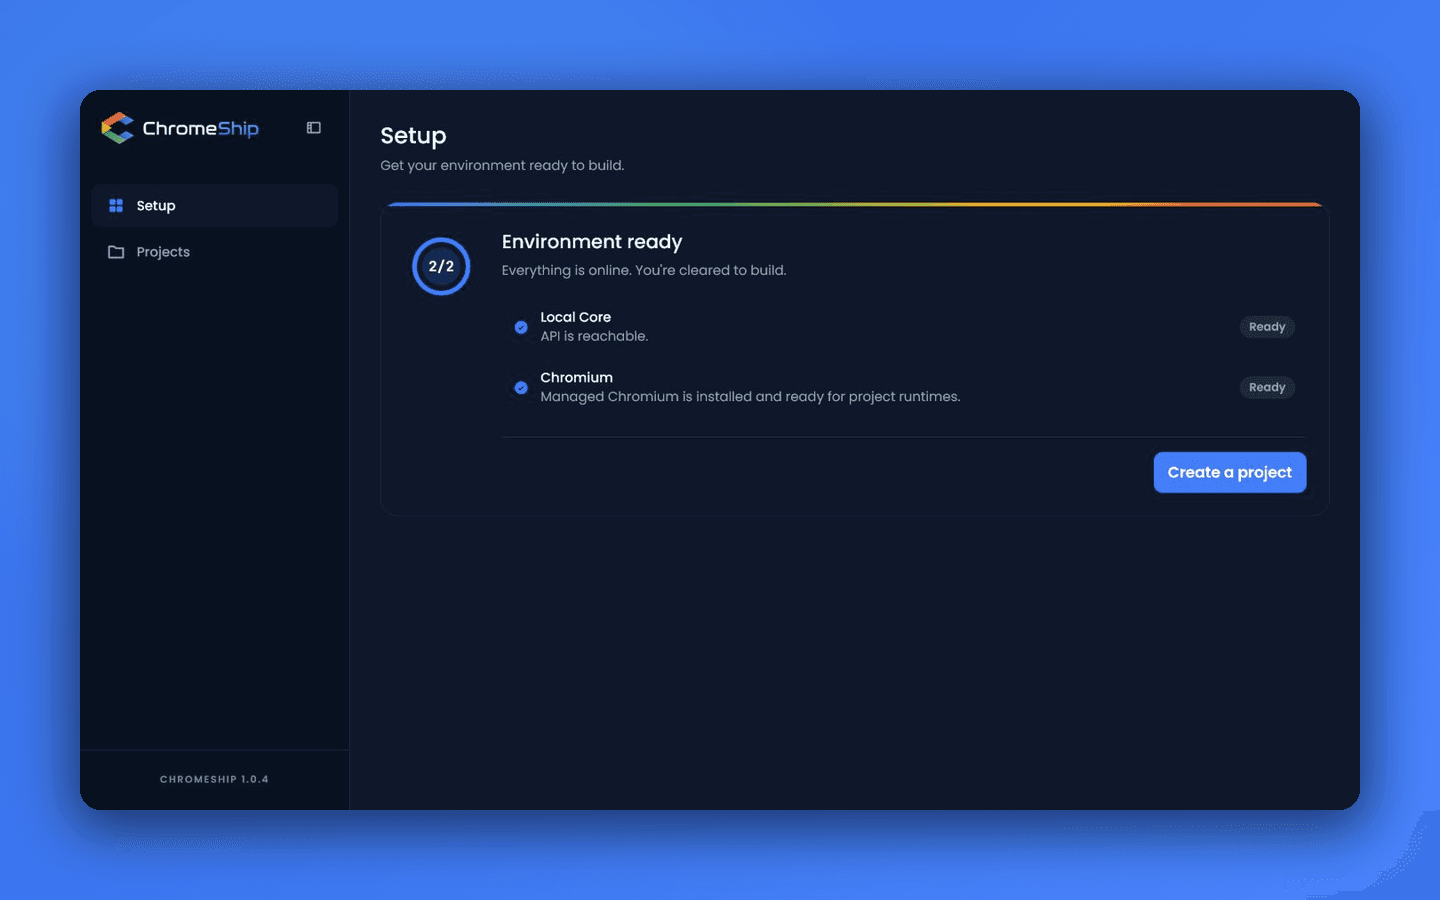
ChromeShip checks the tools it needs during setup and downloads managed dependencies on demand.
2. Create your first project
- Click Projects in the sidebar.
- Click Create project.
- Give your extension a name, like My First Extension.
- Add a short description (optional).
- Click Create project.
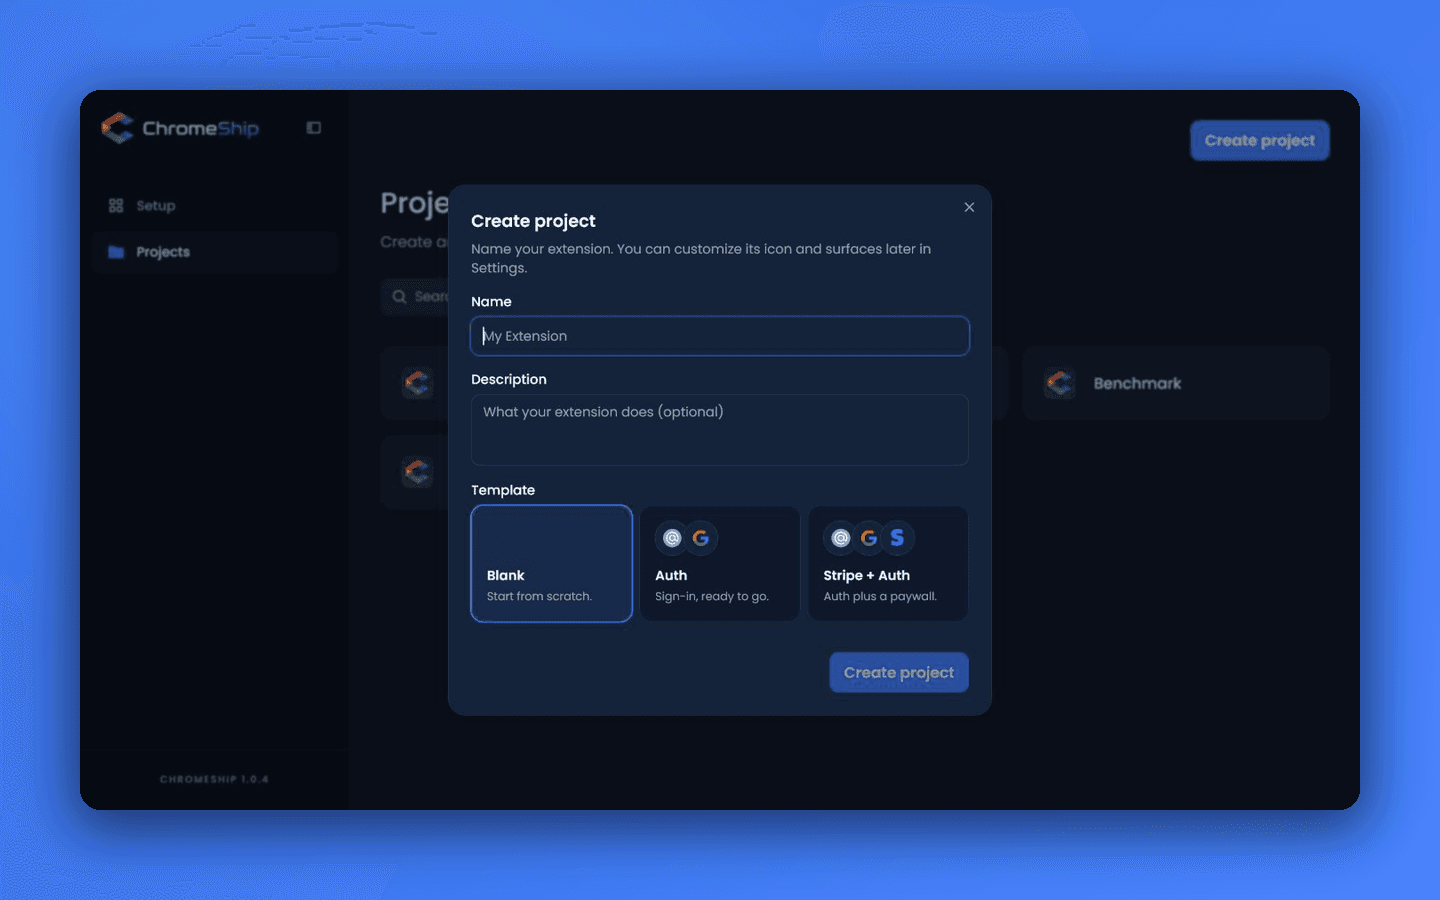
Your project appears in the list. Click it to open the detail view.
3. Start the runtime
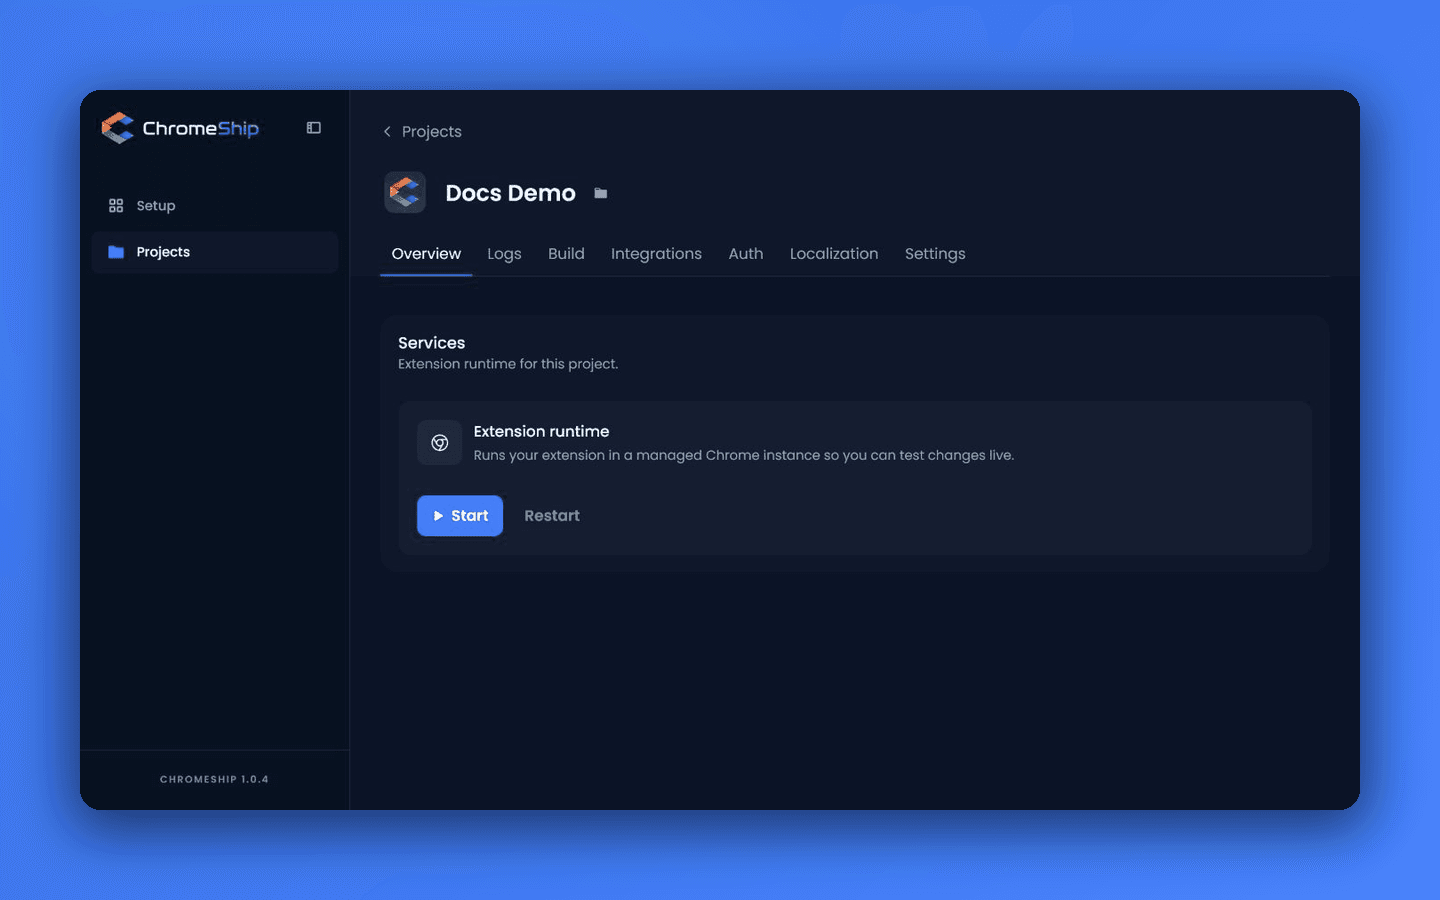
On the Overview tab, click Start.
The first launch prepares the project for you:
- Project dependencies are installed when they are missing.
- Managed Chromium is downloaded once per machine when needed.
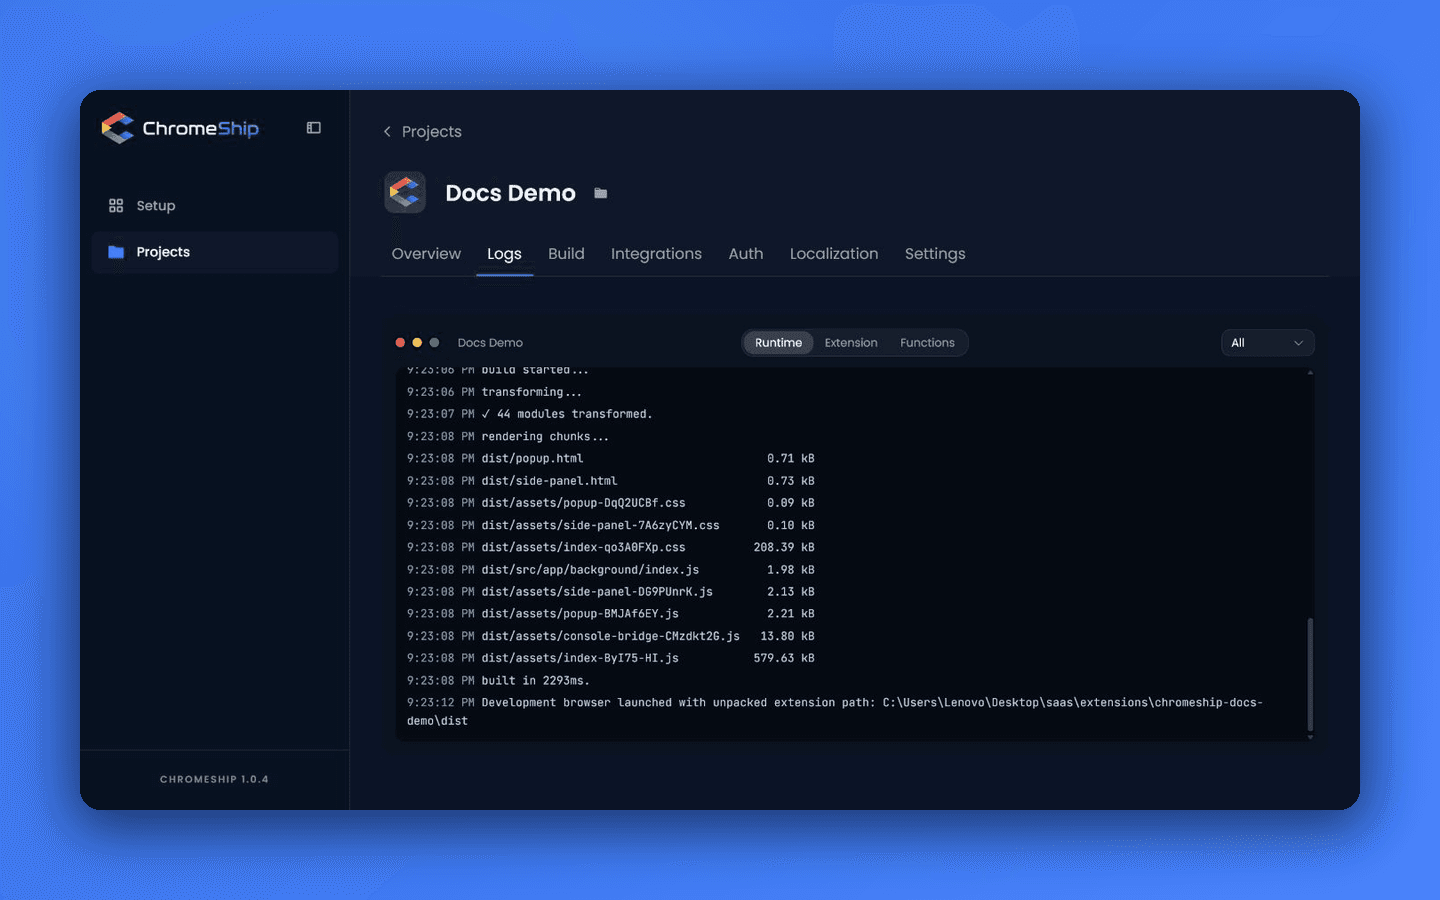
- The development build runs before Chromium opens, so the extension is never launched from an incomplete bundle.
When the build is ready, Chromium opens with the unpacked extension already loaded. Click its toolbar icon to open the popup.
Later launches reuse the installed tools and dependencies. If a build cannot finish, ChromeShip stops the launch and keeps the error in the runtime logs.
4. Make a live change
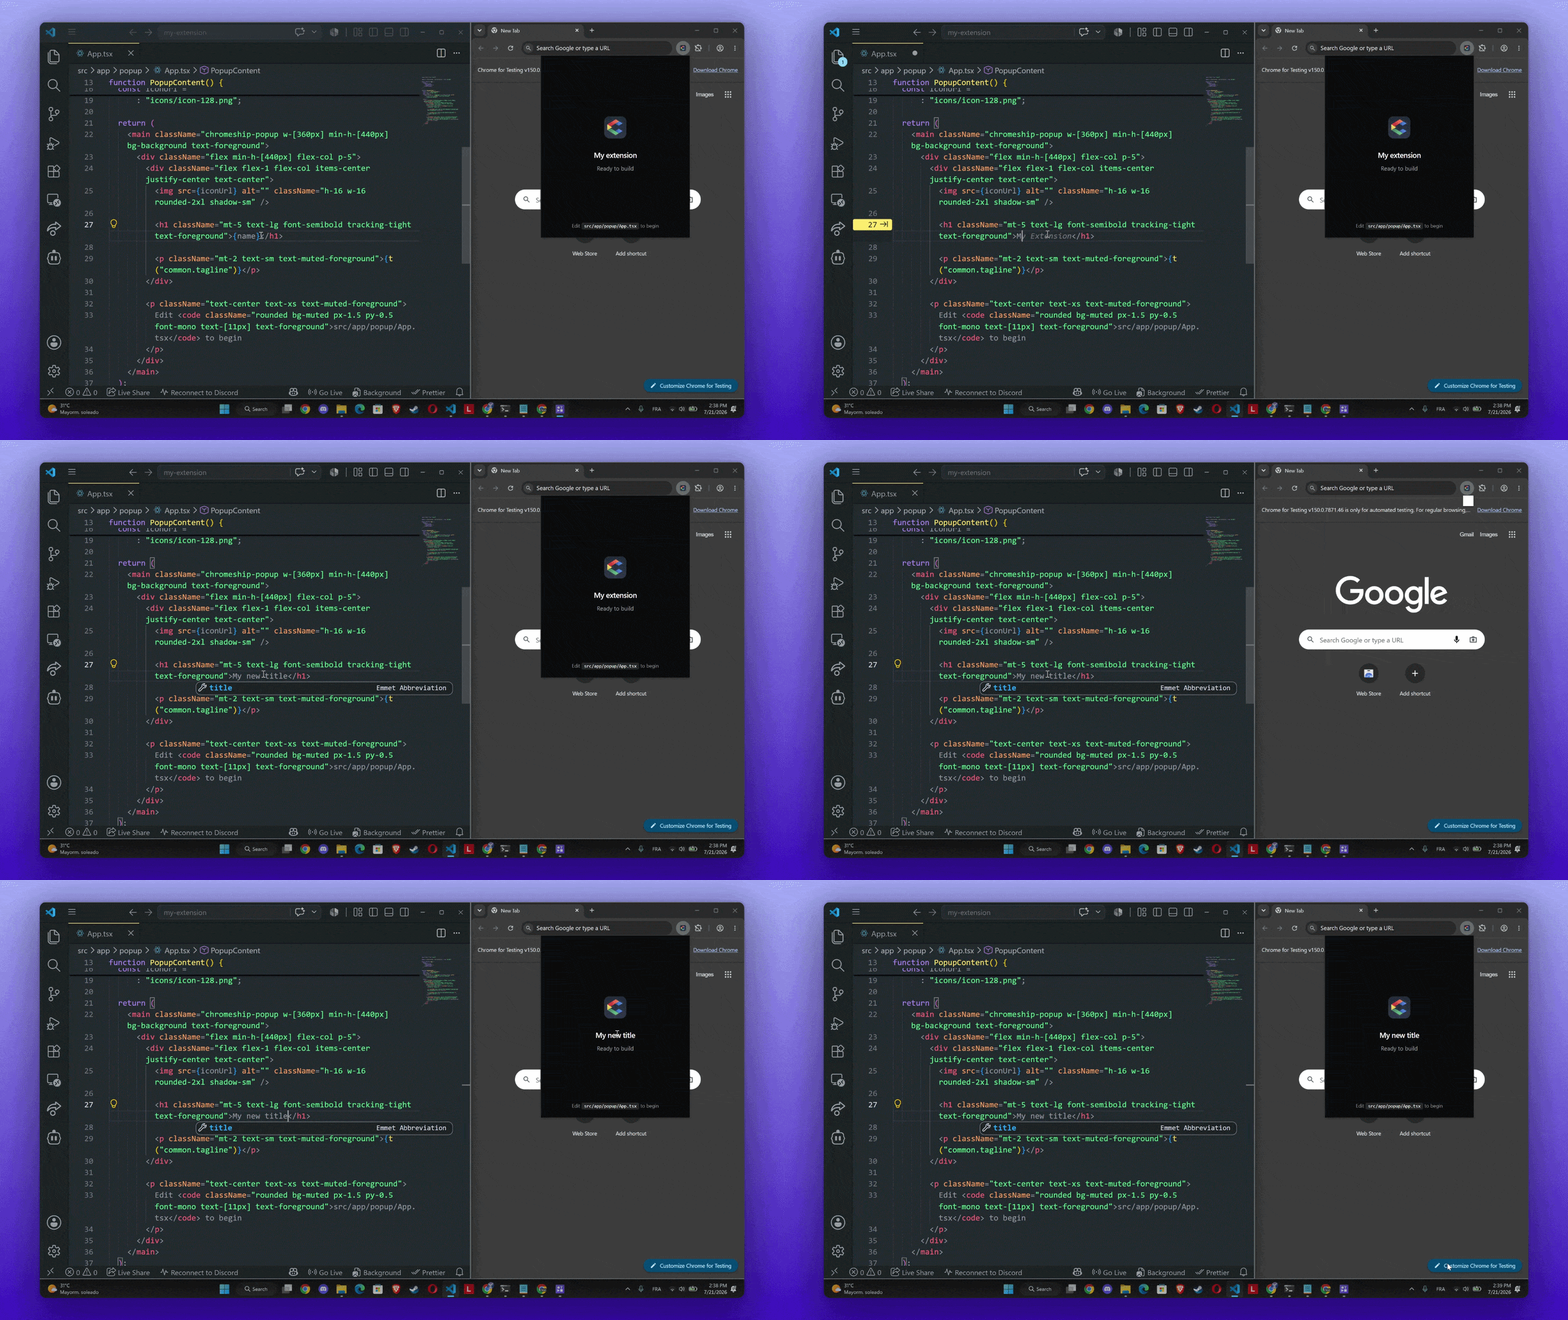
Open the generated project folder in your editor (click the folder path next to the project name). In src/app/popup/App.tsx, change the heading:
<h1 className="mt-5 text-lg font-semibold tracking-tight">{name}</h1>Save the file.
ChromeShip rebuilds the extension and reloads the active surface. Reopen a popup or side panel when Chrome requires it.
5. Inspect the logs
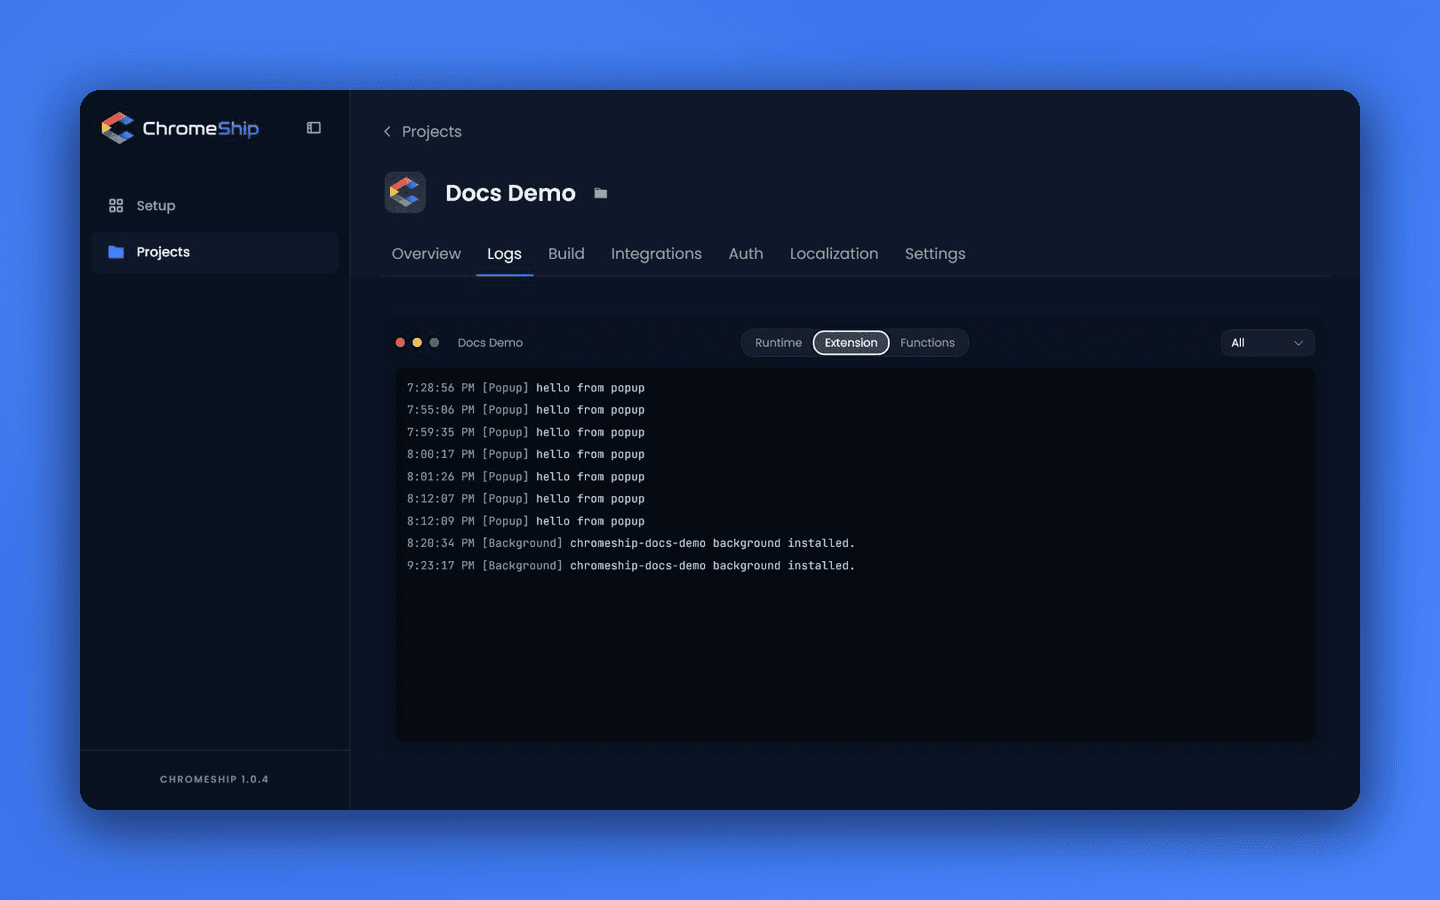
Switch to Logs. Runtime output and extension logs from popup, side panel, background, and content scripts arrive in one terminal.
Add this to App.tsx and save:
import { useEffect } from "react";

// Inside PopupContent:
useEffect(() => {
  console.log("hello from popup");
}, []);
Next
- Explore the Studio — understand every tab.
- Add more surfaces — side panel, content scripts, background.
- Build for production — package your extension for the Chrome Web Store.