
Supabase Backend
Develop against isolated PostgreSQL, Auth, Storage, and Functions services on your machine, then deploy the same project to Supabase.
Enable Supabase
Enable Supabase from Integrations. ChromeShip adds the client, typed helpers, starter function, local credentials, and required extension permissions.
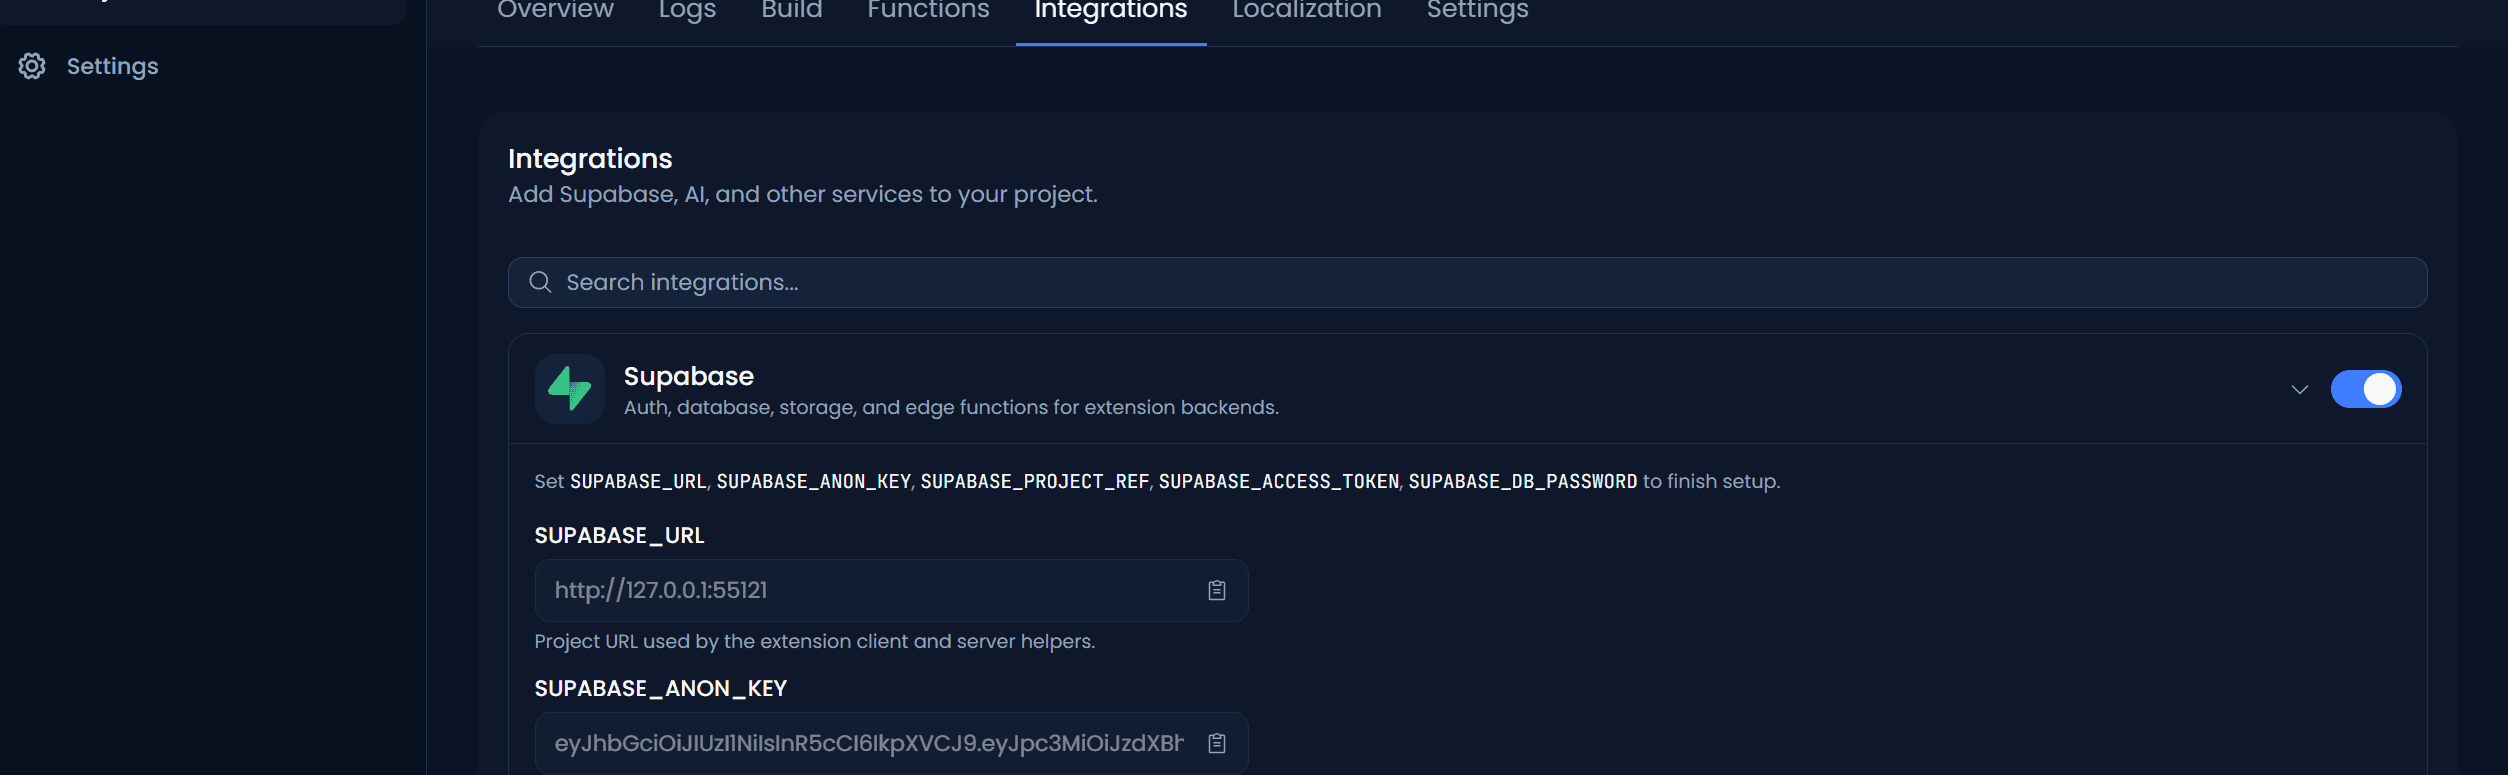
Local stack
On Overview, start the Supabase runtime. ChromeShip launches a lightweight Docker stack for that project with PostgreSQL, Auth, PostgREST, Storage, and the API gateway. Starting another project's backend first stops the active stack, so databases and functions never overlap.
On the first launch, ChromeShip prepares what is missing:
- Supabase CLI is installed in ChromeShip's managed tools directory.
- Required Docker images are downloaded once and reused across projects.
- The database is initialized from this project's migrations and optional seed.
- The Functions runtime starts only after the local services are healthy.
Later starts reuse the installed tools and images. Stopping the runtime also stops its containers to release memory.
Manage your database visually
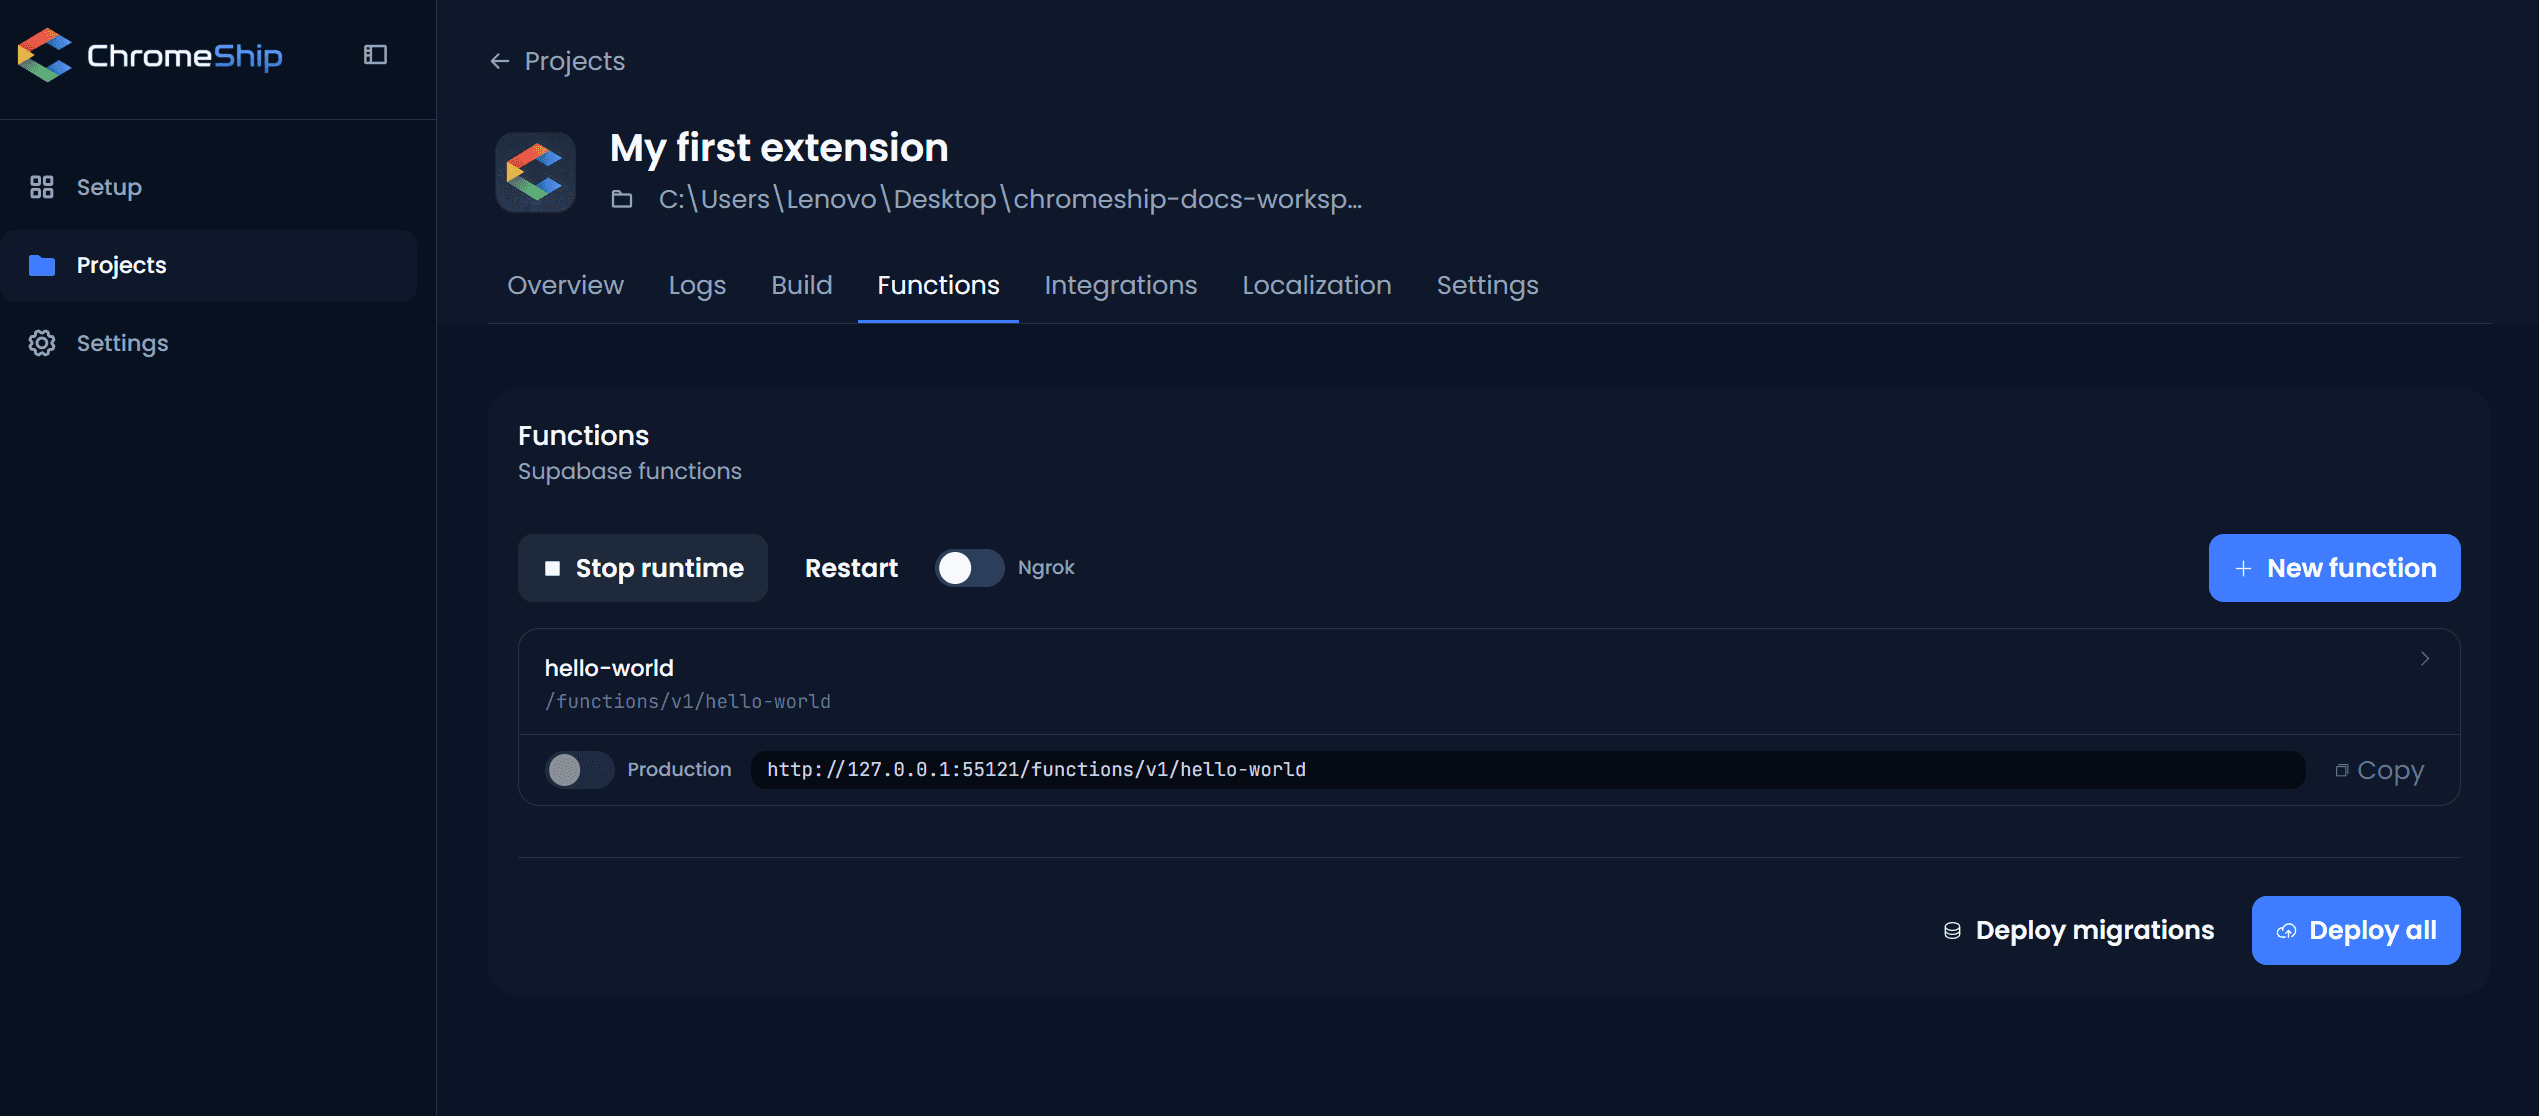
With the runtime running, open Functions and click Open Supabase Studio. ChromeShip opens the local Supabase dashboard, where you can create tables, edit columns, inspect rows, run SQL, and manage Auth or Storage from a familiar visual interface.
This is the recommended way to shape and inspect your local backend. Everything stays inside this project's isolated Supabase stack.
Shape the database with migrations
Behind the visual workflow, migrations keep the database reproducible. You can also place SQL files directly in supabase/migrations/. ChromeShip adds a timestamp when a migration file does not have one, then Supabase applies pending migrations in order when the local backend starts.
Treat migrations as the history of your schema. To change or remove a table later, create a new migration with the corresponding ALTER or DROP statement instead of deleting a migration that has already run.
When you are ready for production, choose Deploy database in Functions. ChromeShip checks for local schema changes, records uncaptured changes as migration SQL, and applies the reviewed migration files to this project's remote Supabase database.
Deploy to production
From Functions, deploy one function or the complete set to your remote Supabase project. ChromeShip sends production secrets to Supabase and never substitutes local credentials during deployment.
Set your production Supabase credentials in Settings → Environment:
SUPABASE_URL— your remote project URLSUPABASE_ANON_KEY— public anon key for client-side callsSUPABASE_PROJECT_REF— the Project ID shown in Supabase project settingsSUPABASE_ACCESS_TOKEN— a Supabase personal access token, not a project API keySUPABASE_DB_PASSWORD— remote database password for deployments
Enable Google sign-in in production
Function deployment does not change provider settings. Enable Google in your remote Supabase dashboard before testing production OAuth.
Once you’ve deployed, enable it once in your remote project’s dashboard:
- Open your project on supabase.com/dashboard → Authentication → Providers → Google.
- Toggle it on, then paste the same
GOOGLE_CLIENT_IDandGOOGLE_CLIENT_SECRETyou set locally in the Auth tab. - Paste the production redirect URI shown in the Auth tab into your Google Cloud Console’s OAuth client — it’s different from the local one, since it points at your production Supabase project.
API reference
Continue with the Supabase helper reference for auth, database, storage, and function calls.